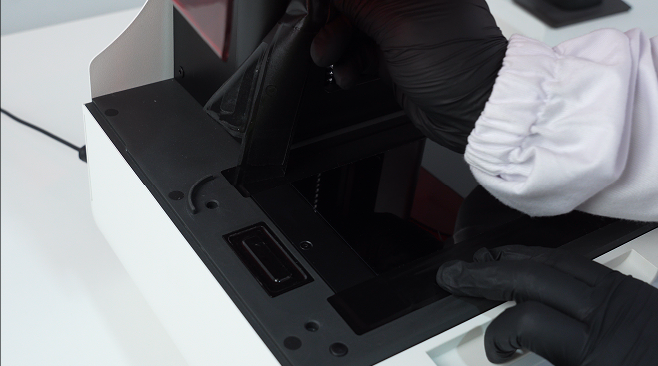
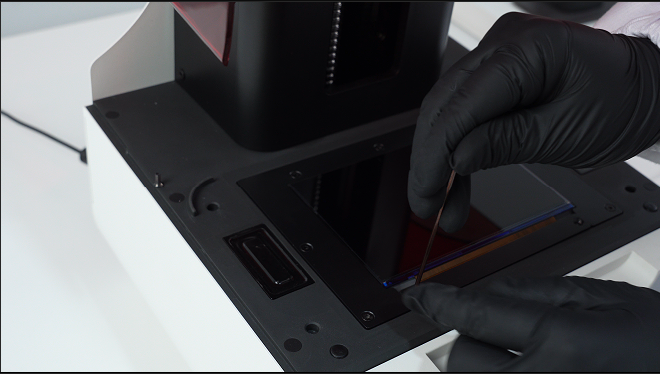
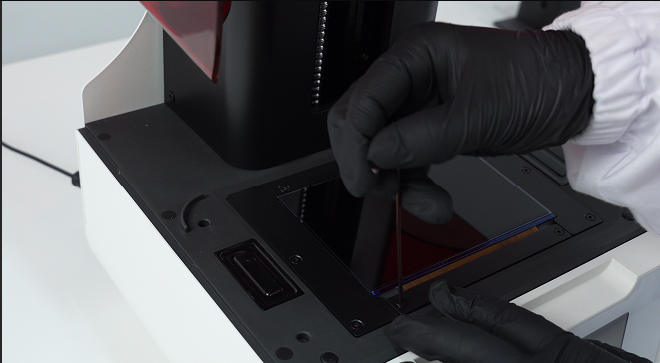
2. Slowly peel off the tapes securing the edges of the LCD panel.
3. Dismantle the fixation screws to remove the front cover plate.
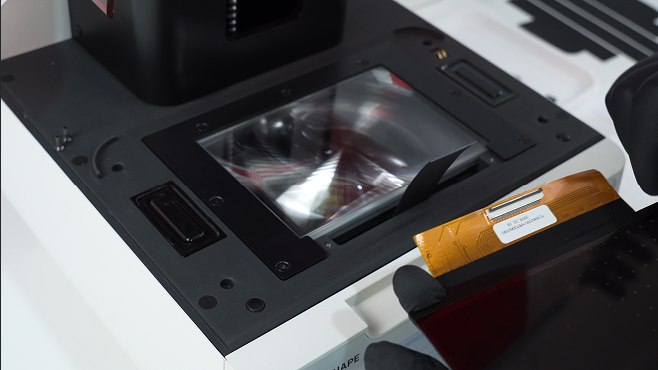
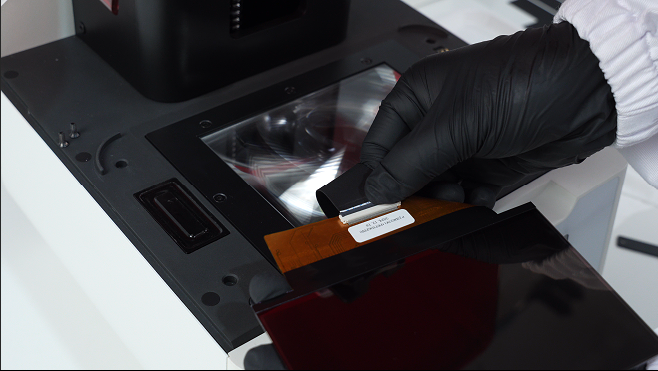
4. Remove the flat cable. CAUTION: Do not let the flat cable slip inside the bottom chamber after disconnection.
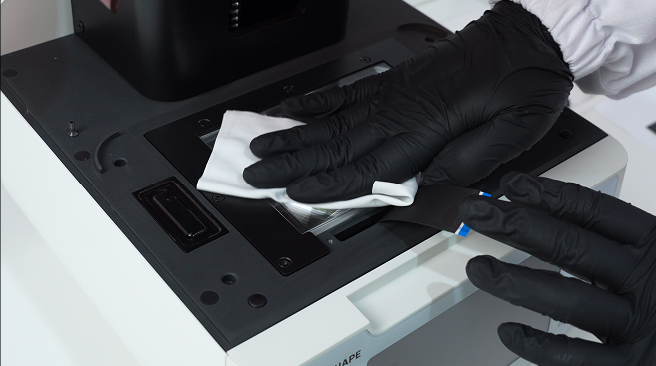
5. Clean the glass substrate with dust-free cloth.
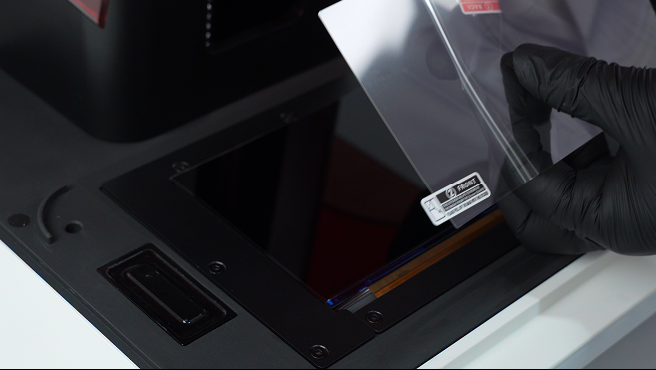
6. Take out the new LCD panel and remove the protective film with the green tag on the bottom surface.
7. Connect the new LCD panel with the flat cable.
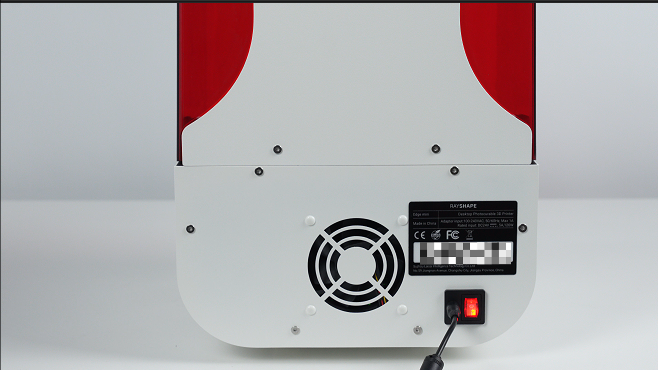
8. Power on the device.
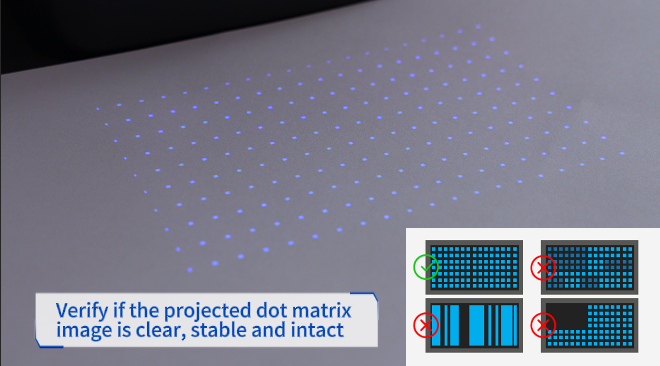
9. Check if the projected dot matrix is clear, intact and stable.
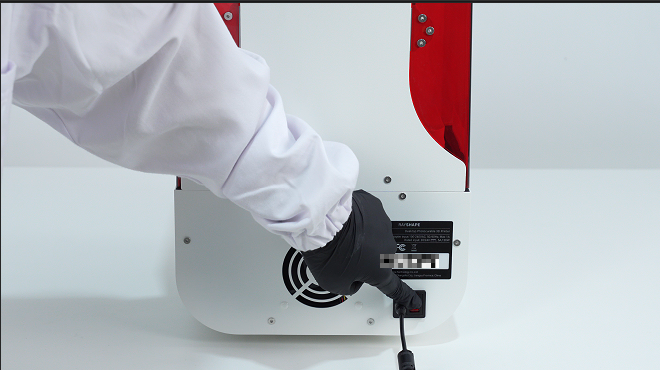
10. Turn off and unplug the printer.
11. Install all screws, remove the protective film with the white tag.
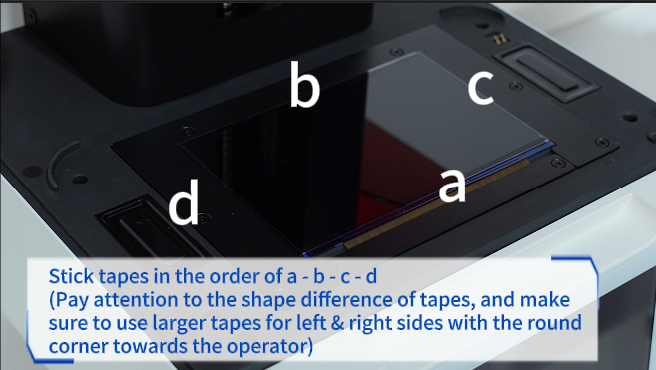
12. Stick tapes in the order of a - b - c - d (Pay attention to the shape difference of tapes, and make sure to use larger tapes for left & right sides with the round corner towards the operator)
13. Check for: * the projected dot matrix is normal. * the edge of the projected image is not blocked by tapes. * there is no UV light leakage.