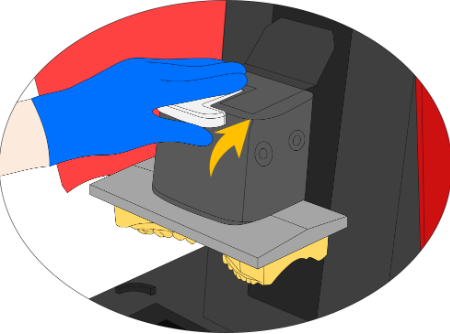
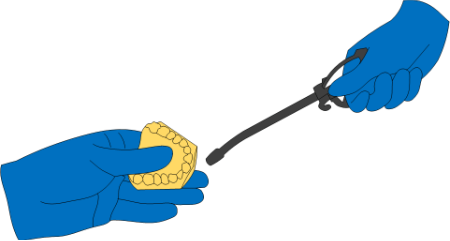
1.Clean the platform and sample briefly, then transfer the printed part with care to avoid dripping resin
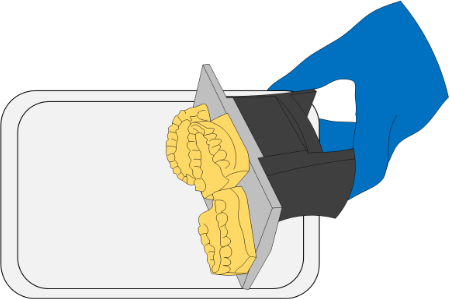
2.Slowly peel off the tapes securing the edges of the LCD panel
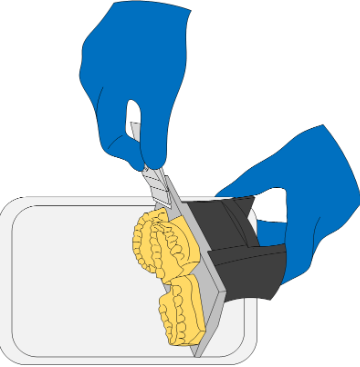
3.Use a scraper to remove the printed part. Caution: The blade is sharp - handle with care to avoid injury
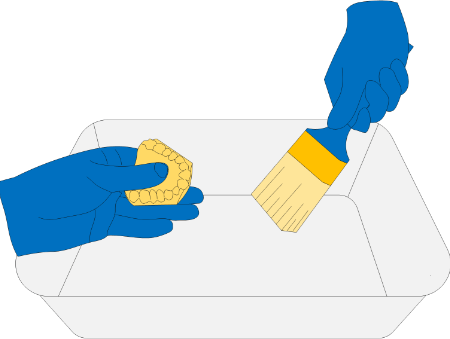
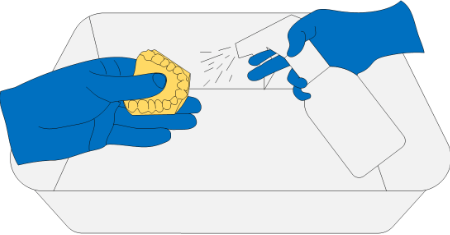
4.Clean the specimen with ≥95% purity alcohol or IPA (isopropyl alcohol). The provided soft-bristle brush or a toothbrush may be used
5.After initial cleaning, use compressed air to blow off residual resin-alcohol mixture from the specimen surface
6.Repeat cleaning and drying cycles until the specimen surface is free of resin residue and achieves a non-tacky tactile finish, indicating completed washing
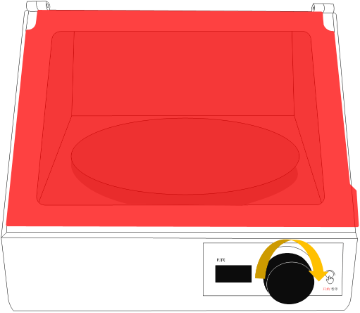
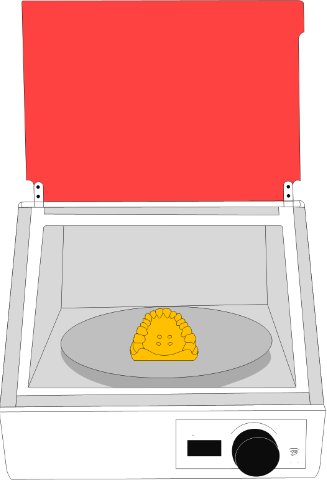
7.Wear protective gloves and sequentially place the specimens into the post-curing chamber, ensuring minimal overlap between parts and avoiding overhang beyond the turntable
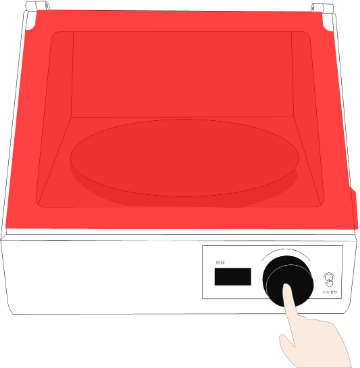
8.Close the post-curing chamber door, then rotate the timer knob to select the prescribed duration
9.Press the timer setting button to initiate curing
10.Retrieve the cured specimens, taking care not to contact the chamber walls or UV lamps to prevent burns